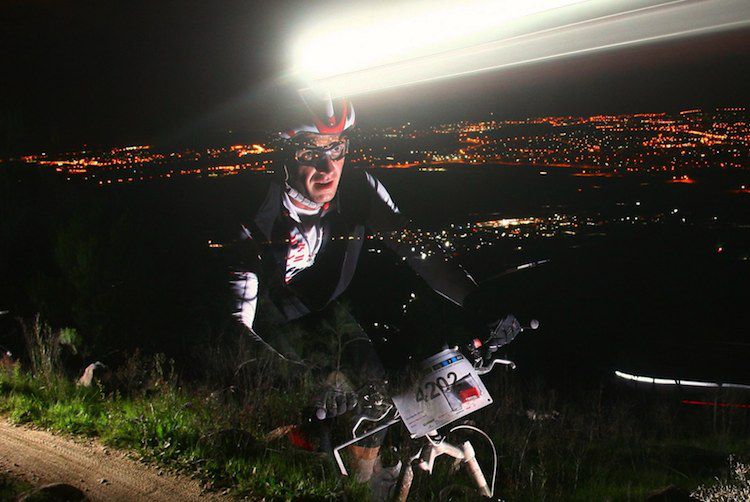
Welcome to the crazy world of bicycle lighting products! This is a humble attempt at making choosing a new light for your specific needs a little easier... I'll try my best...
Before moving on it is important to know the three main types of lights available:
- The headlight: A headlight is a front-mounted lamp which projects a beam forwards, (funny that), making the road visible at speed when cycling.
- Visibility light: These lights are front or rear and are primarily designed to make the road cyclist visible, particularly in urban traffic environments.
- Mountain bike light: Off-road lights are very powerful front-mounted units. These are the most advanced and brightest of all lighting systems and can also be used as very good road commuting lights.

TIP: Before choosing a light check out your local conditions. For example: how much ambient or street light is available? From this you can acsertain how much light you will need to see where you're going on your road ride and whether a headlight or visibility light will be necessary.
1. Brightness (Watts or Lumens?)
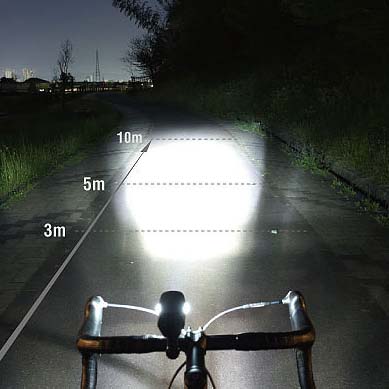 The first important distinction is brightness. All modern lights now use LED (light emitting diode) bulbs. There is a whole range of levels of quality among LED's. You generally get what you pay for.
When purchasing a flashing visibility light the brightness is fairly equal among styles, although some better models feature a super bright 1 watt LED bulb. This is ideal for maximum visibility on a tail light and can be quite blinding to look at directly (so don't).
Likewise on the front, if you want to see where you are going a 1 or 2 watt LED bulb is essential, anything less is really just a light to enhance your visibility to others, not to shine a path. This is experience talking. I used to ride 80km/day on my commute which meant at least an hour in the dark. For the regular bicycle commuter a 1 watt LED is minimum.
Example: Niterider Mako
Science Time: The lumen is the derived unit of luminous flux and is the measure of visible light emitted by a source. Luminous flux measures wavelengths visible to the human eye and are different to radiant flux (power) as this is a measure of all electromagnetic radiation emitted. A lux is one lumen per square meter.
When we move into high end commuting or mountain bike lights notice the addition of "lumens" to the product description. The very best commuting lights will be rated at approximately 250 lumens, while on upper-end mountain bike lights you will see lumens figures in excess of 1000-1200. This is approximate to a car headlight!
Example: Lupine Wilma 12

TIP: Mountain bike lights are so bright because of the nature of riding off-road at speed; you REALLY need to see what's coming up. This also translates to the road; if you ride at a very fast speed a good set of lights is important. Those pot holes approach very quickly!
2. Battery
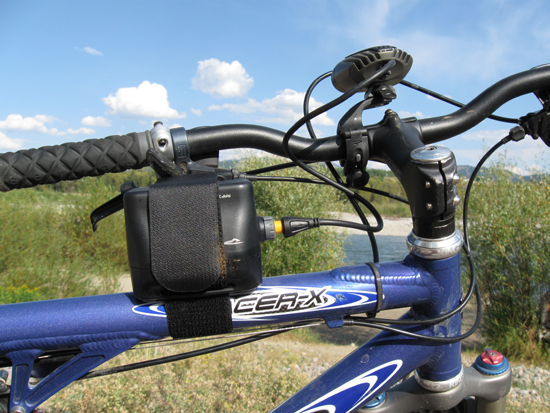 Batteries improve as brightness intensity goes up. On your flashing "be seen" lights you get a couple of lithium watch batteries and 100 hours of run time! It then steps up to AA or AAA batteries in the 1-2 watt or multi LED headlights and an approximate 24hr run time on full beam (much longer in flashing mode).
As you can see for a regular night commuter, lights using these battery types are probably not going to cut the mustard over the long term.
High powered commuting and mountain bike lights often use a separate lithium-ion or lithium polymer rechargeable battery pack. Even on the most powerful 1000 lumen lights, run-times of many hours are often available before charging is necessary.

TIP: For mountain bike lights the battery is sometimes as important as the light unit itself. There are many seemingly very inexpensive, yet super bright lights out there. Some products are cheap for a good reason. The bulbs MAY be ok but if the battery fails on the trails in the middle of nowhere, you only have yourself to blame!
3. Function
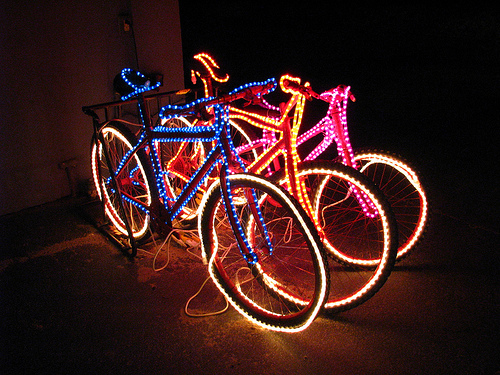 Last Christmas we bought some Christmas tree lights that had eight different flashing modes; from a boring on/off to a raging disco of flashing colours! Bike lights can be similar (albeit without the multi colours!). The idea is to be very noticed and hopefully not run over.
Example: Tacx Lumos lightset
Common features include the ability to switch from constant to flashing beam, and to vary the level of brightness of the lamp.
This allows you to alter the light function to suit different circumstances and improve battery life.
4. Useability
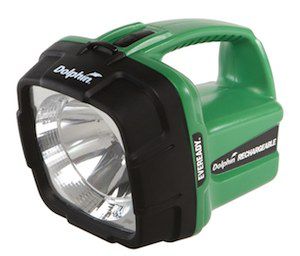 An Everready Dolphin is a great torch, but have you tried strapping one to your handlebars? Bicycle lights are designed to be bright and compact. One thing to look for is an appropriate and easily set up bracket for attaching the unit to your handlebars, seatpost, backpack or helmet.
For road commuting a handlebar mounted front light, combined with a seat post mounted or helmet mounted tail light is a minimum requirement.
When mountain biking the best setups feature a helmet and handlebar mounted front light.
Example: Exposure Diablo Mk.3

TIP: When commuting I recommend putting as many tail lights on as possible. Try one on your helmet, backpack and seatpost. Multiple targets for those crazy car drivers out there.
5. Quality
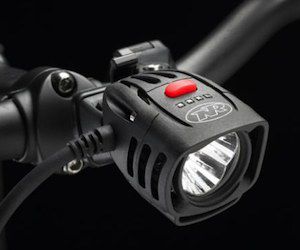 Buy the best lights you can afford. As said earlier, LED bulbs are not all the same so get the best you can. Brightness levels can vary by a huge amount as you get better and better LED's. Spend wisely, particularly if you commute regularly or want to ride in the forest on a mountain bike in the middle of the night.
Also, light casings and mounting brackets are very different as the price goes up. Those cheap $5 jobs may look bright in the shop but they are pretty useless when they come off your bike and spray themselves across the road!
Example of some quality brands: Niterider, Exposure, Lupine, Ay-Up. Check your local store.


