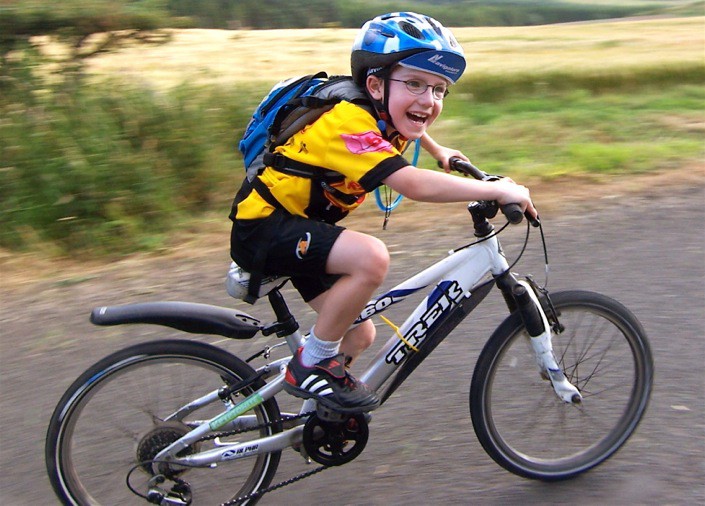
A new bike for Christmas is a time honoured tradition for many families and an exciting new adventure for a lot of fortunate kids. There comes an age when it is time to progress from the no gears, coaster brake bike to something more closely resembling your own bike.
You can imagine moving from 0 gears to a 21 speed bike could be a little overwhelming, then throw in v-brakes...it's no wonder little Johnny doesn't want to go riding anymore!
Deciding which bike to get your young one? This may help: "BMX or geared mountain bike? Pros and cons"
So how do we introduce grown-up cycling to our children without overburdening them with complexities like keeping a straight chainline and feathering the front brake when riding through a corner?
EXPERIENCE: This is based on my own recent experience! My daughter has only ever ridden a cruiser style 20" wheel single-speed bike with coaster (backward pedal) brakes. She wasn't frightened of riding her new bike but was uncertain how to operate it. After a couple of learning rides she was off!
1. Start with the brakes
Being able to control the brakes is the number one step for obvious reasons. Set the bike up in an easy gear like middle chainring (front cogs), and low on the cassette (the larger rear cassette cogs that is!). The idea is to put the bike in a gear that is rideable everywhere and leave it there so we can now concentrate on braking.

TIP: When purchasing the bike, make sure the shop staff are aware of the fact that using hand brakes is a new experience. They can adjust the levers for smaller hands, lube the cables for easier action and position the pads for gradual, modulated stopping.
The purpose here is to get the child used to using their hands rather than their feet and pedals to stop the bike. It is important to know how much strength is needed to pull up to a stop, especially going down a slope. I got my daughter to do a couple of emergency power braking practices (which she loved!) on a very shallow slope to give her the confidence that if she needed to stop quickly she could.

TIP: Avoid over complication. I didn't mention about front and rear brakes and which to use when. I found too much information has the kids thinking and worrying rather than riding and having fun. A simple caution about grabbing the front brake too enthusiastically is all that is needed at this stage.
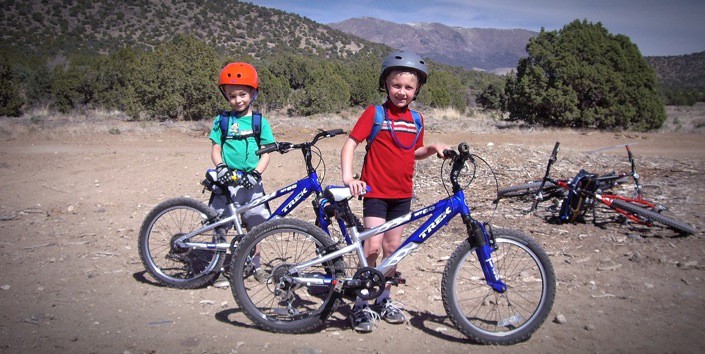
2. Easy introduction to gears
Once the brakes are sorted it's time to approach gears. Again I would recommend to the shop staff to make certain the bike is running smoothly in the lower gears (it should be that way anyway, but it is also good to keep 'em on their toes!). At the beginning, having low gears is a great novelty, especially if you live in a hilly area and your child is moving up from a no-gear bike!
This method is identical to the one I used in the bike shop when approached by adult riders who have no idea about how to use their gears. Put the chain in the middle chain ring which is "2" on the left handlebar shifter. Leave it there for the first few rides.
From here you can now move through the whole rear cassette which is the gear shifter on the right of the handlebars (just remember to keep pedaling while shifting). My daughter's bike has 7 cogs on the rear which is plenty of options for nearly every application. "1" is the easiest hill climbing gear and "7" is the hardest for winding up the speed on the flat. Isolating the rear gears at this stage removes a lot of complexity and opens up how simple the whole process really is.

TIP: There is no "wrong" way. What is good for one child may hold back another. Listen to what your kids are asking and saying. They know what feels right for themselves. Teaching your kids about cycling is a great opportunity to undo any "I know better" attitudes you may have picked up from many years of parenting (and cycling)!
My feeling is to let them explore the rear cassette for a while before introducing the front 3 chainring sprockets. The truth is that most adults have no idea how to use them properly either! For kids, the first step with the front derailleur is to show them the small chainring or "granny gear". Being comfortable with dropping in and out of this gear is great fun when riding up a hill.
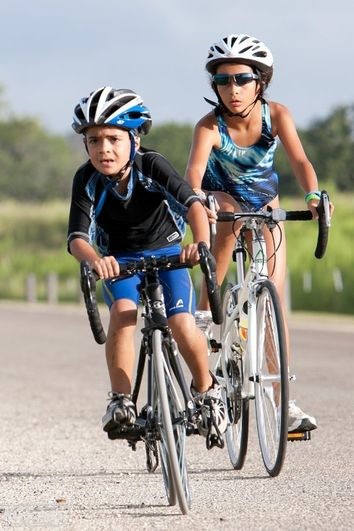
Photo: Kevin G Saunders / KGS Bikes
3. Saddle height
When transitioning to a larger bike, be aware of the saddle position. For the first few rides a "correct" saddle height may not actually be the best thing and could lead to a loss of confidence. Keep the saddle a little lower than ideal in the beginning and raise gradually as they gain more confidence. Let the child tell you what feels right to them. I found my daughter asked me to raise it on a couple of occasions until she found a height that she felt safe and comfortable with.
4. Tire pressure
It may sound a bit strange but keeping an eye on tire pressure also helps with feeling more confident on a new bike. If the shop inflated the tires rock hard, the bike will bounce off every small bump and will be more difficult to control. Just ask a mountain biker! Reduce the tyre pressure closer to the lower end of the recommendation found on the tyre sidewall.
Rolling resistance and speed aren't as important at this stage and the softer tyres will be easier to ride and result in greater confidence. It is easy to inflate to higher pressures after a few rides.
5. Fun!
Go riding together and enjoy the time. I ride with my daughter often. She chats the whole time asking me which gear is best here and which is best going up a hill. It has been terrific watching her confidence grow and with her new found gears she even tries to beat me up the hills!
Mastered all of the above? Perhaps the next step is: "5 ways to introduce your kids to competitive cycling"

